Camera Settings — A Guide to Scroll-Stopping iPhone Photos
My guide to scroll-stopping iPhone photos
August 11, 2024Welcome back! Today, I'm sharing some of my top tips for capturing stunning photos on your phone. As someone who isn't a professional photographer and prefers simple, non-technical approaches, these tips are perfect for anyone who loves capturing soft, crisp, true-to-colour images that shine on Instagram.
Advertisement
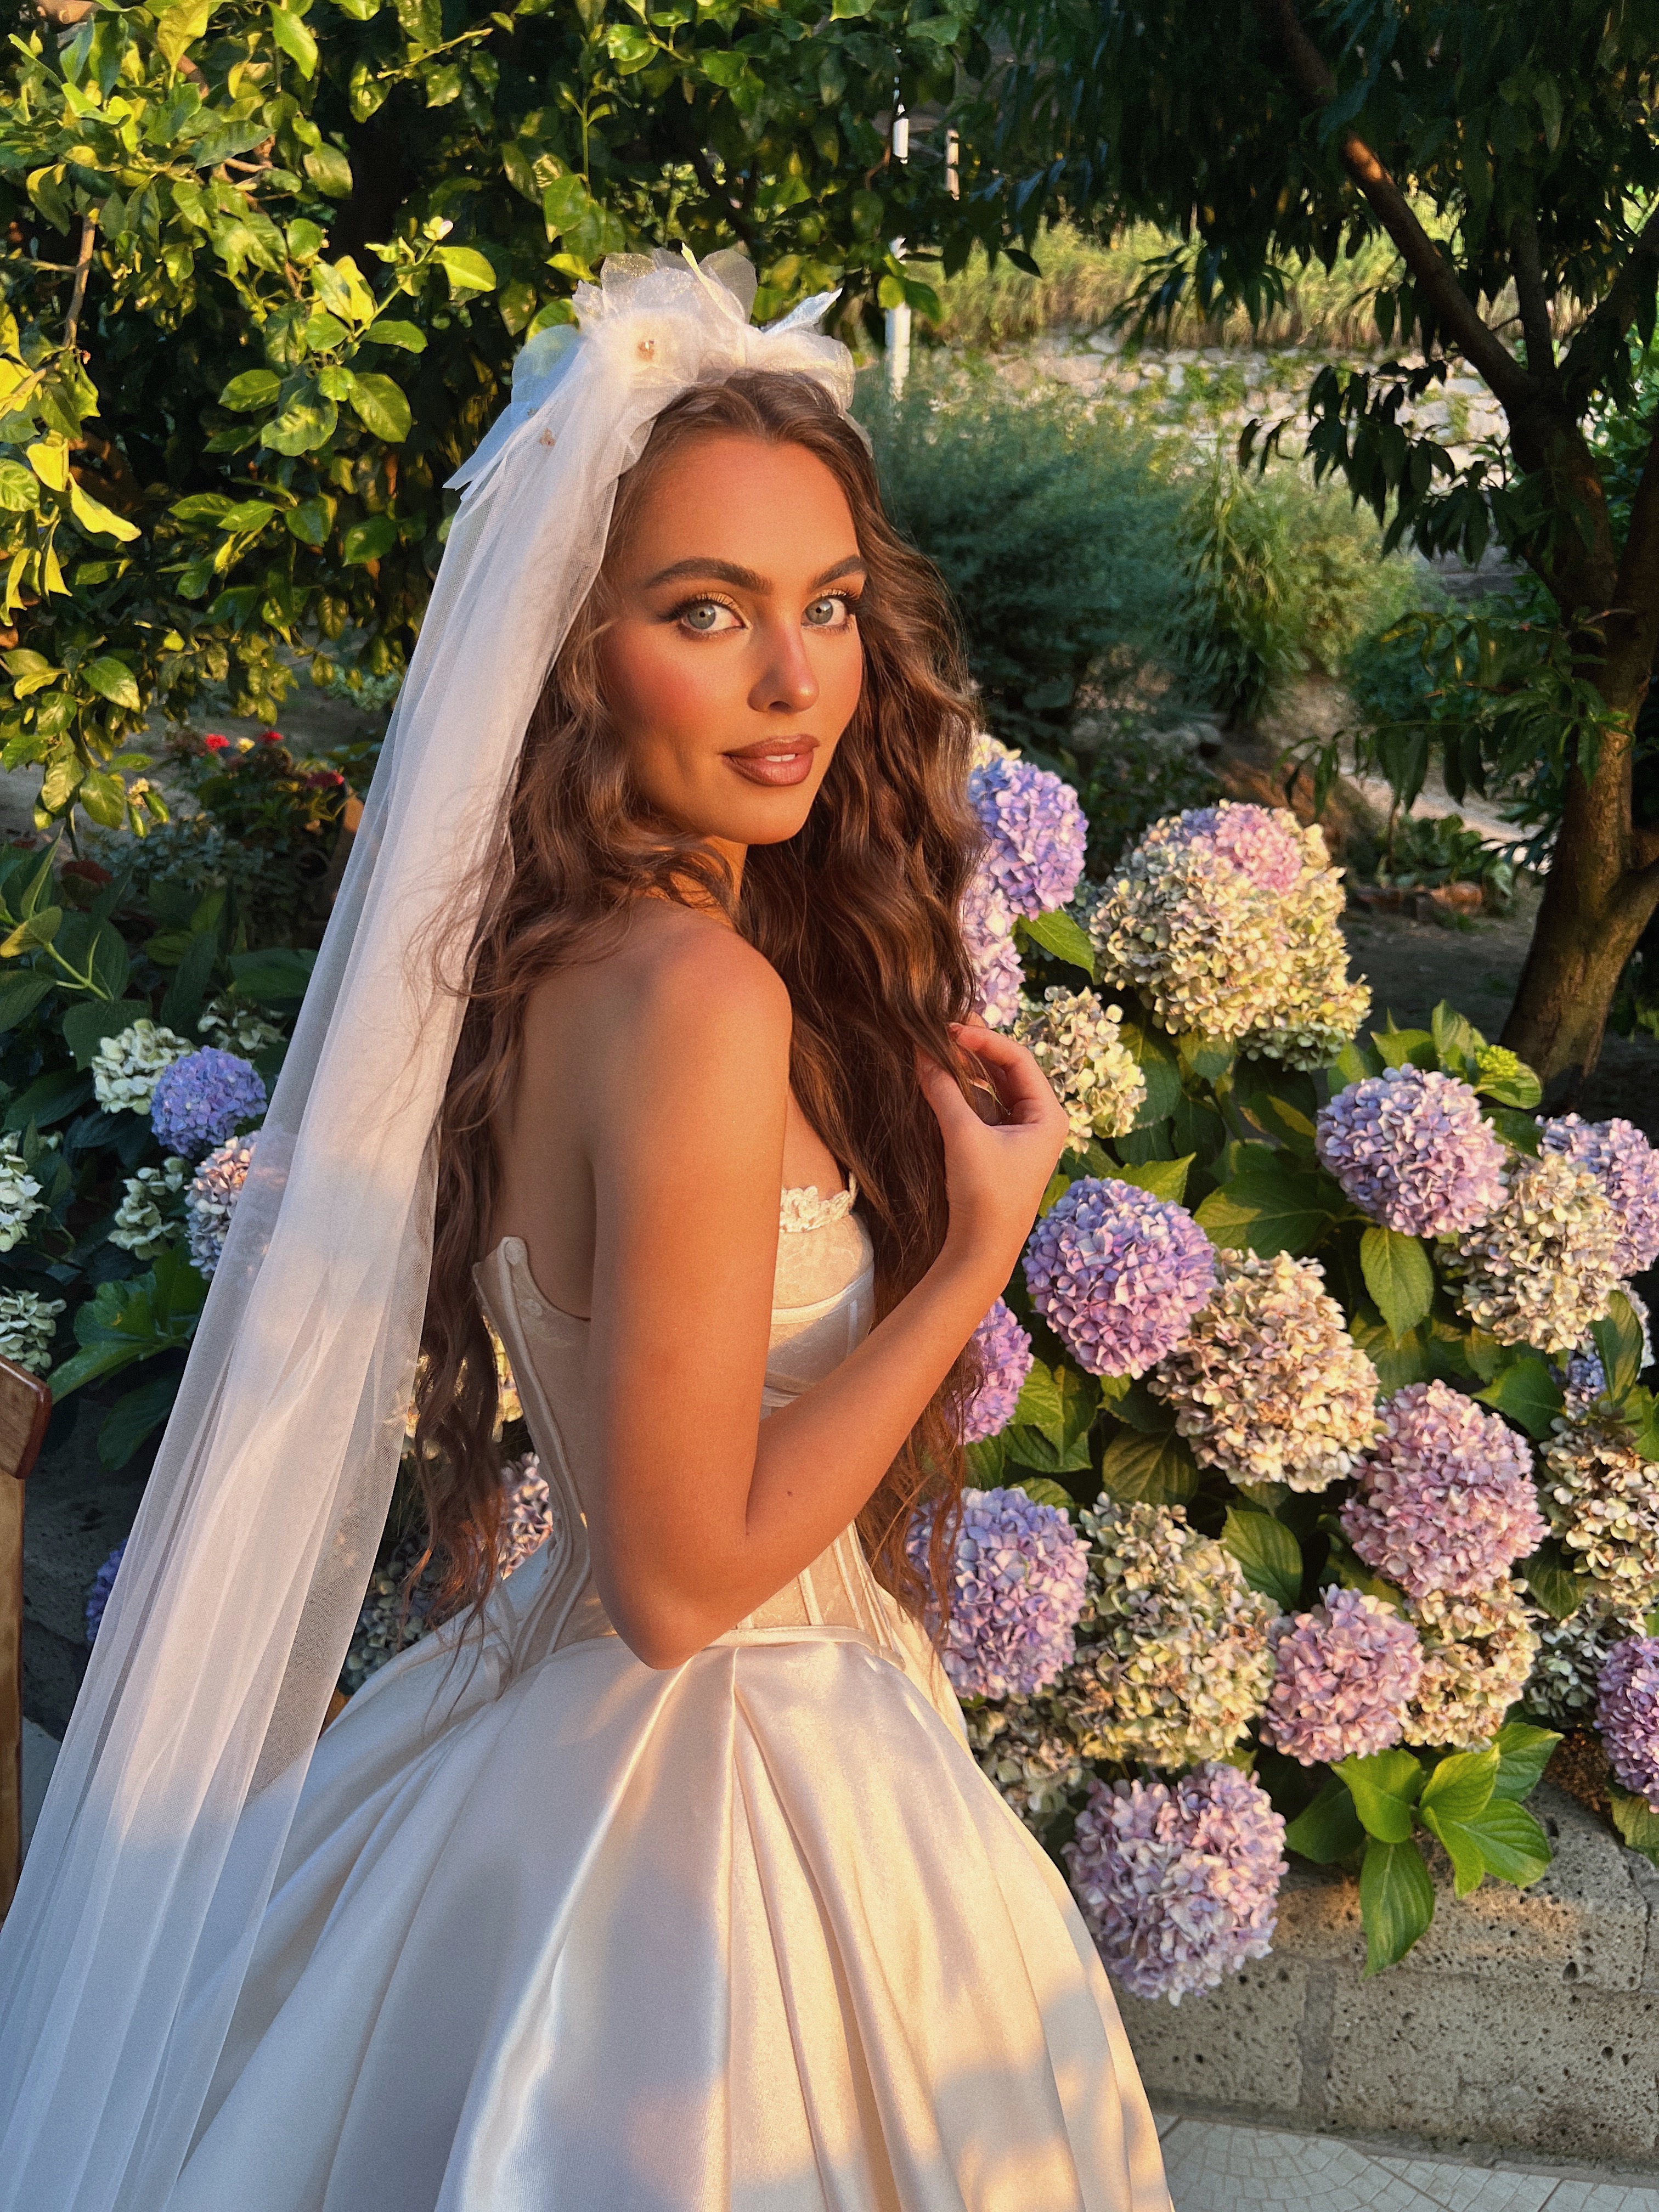
The iPhone is a powerhouse for mobile photography, and with a few simple tweaks to your camera settings, you can elevate your photos to a more professional level. Here are some of my favorite settings and tips to help you make the most out of your iPhone 13 Pro Max camera. These tips also work great on newer models, proving you don't need the latest phone to achieve amazing results. Throughout this guide, I have included some recent photos from traveling this summer, and you can view all my photos @jackiewyers.
Advertisement
Set Your Camera Style to Vibrant
Since my content often focuses on makeup, hair, and fashion, I prefer photos that are crisp, bright, and vibrant. The iPhone 13 Pro Max offers various photographic styles that allow you to customize the tone and warmth of your images. I use the Vibrant style, which enhances the colors, making them look more vivid and lively. To adjust this, go to Settings > Camera > Photographic Styles, and choose Vibrant. Many accounts love a more muted, moody vibe, but I'm big on true-to-color images and find that without Vibrant on, the camera can mute images slightly.
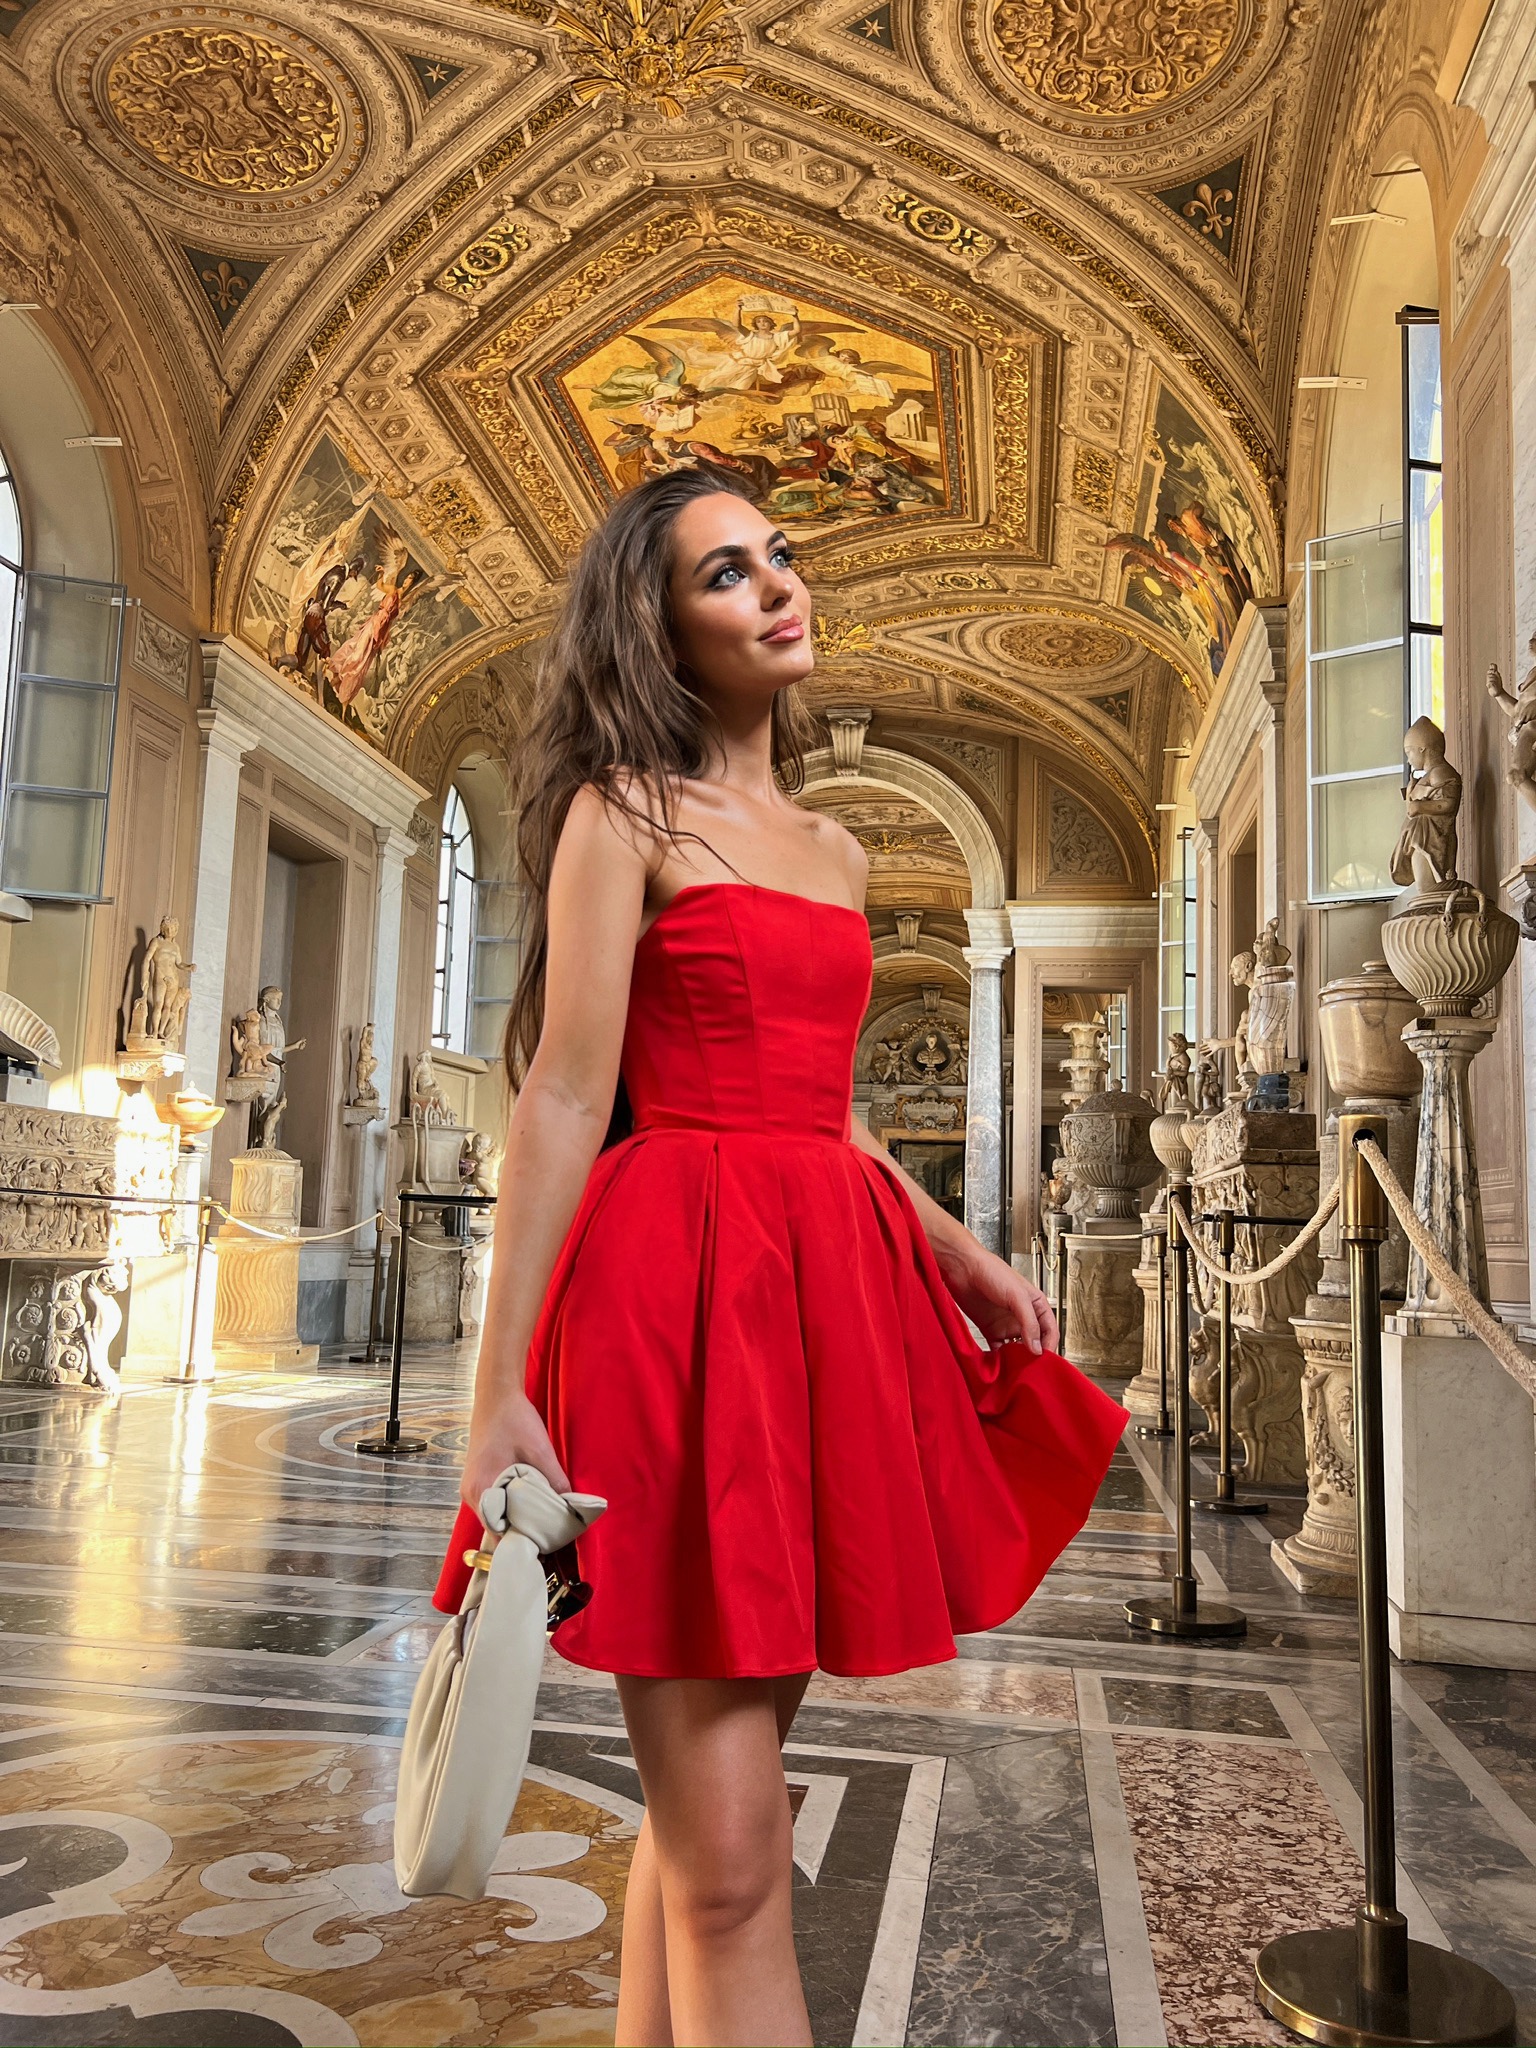
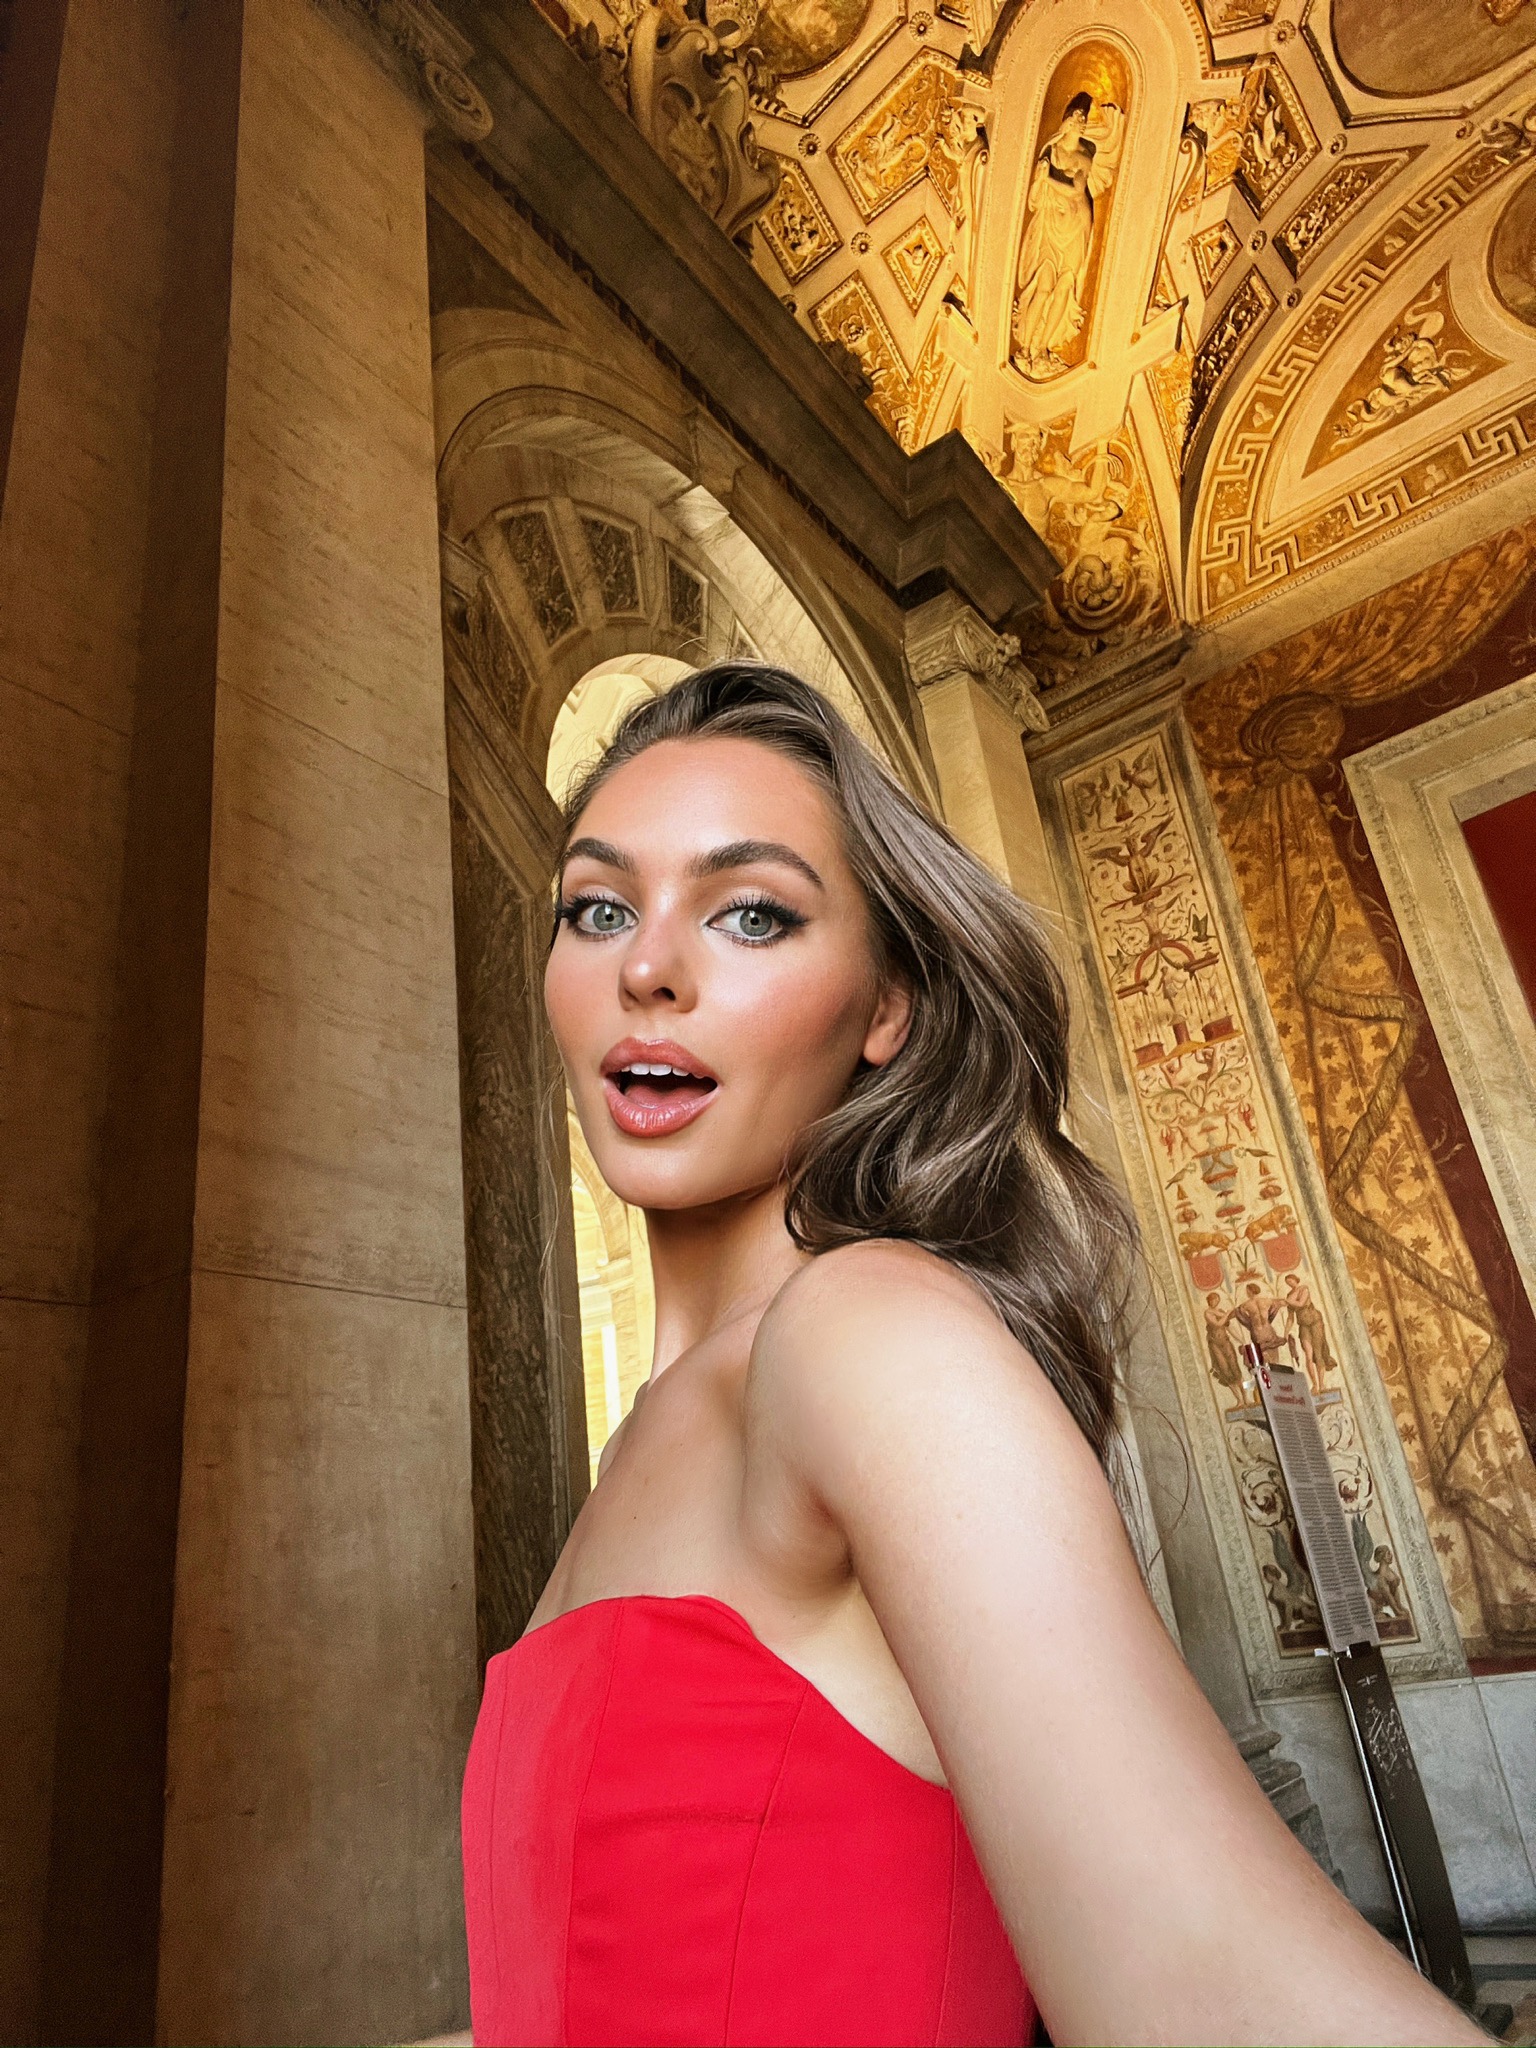
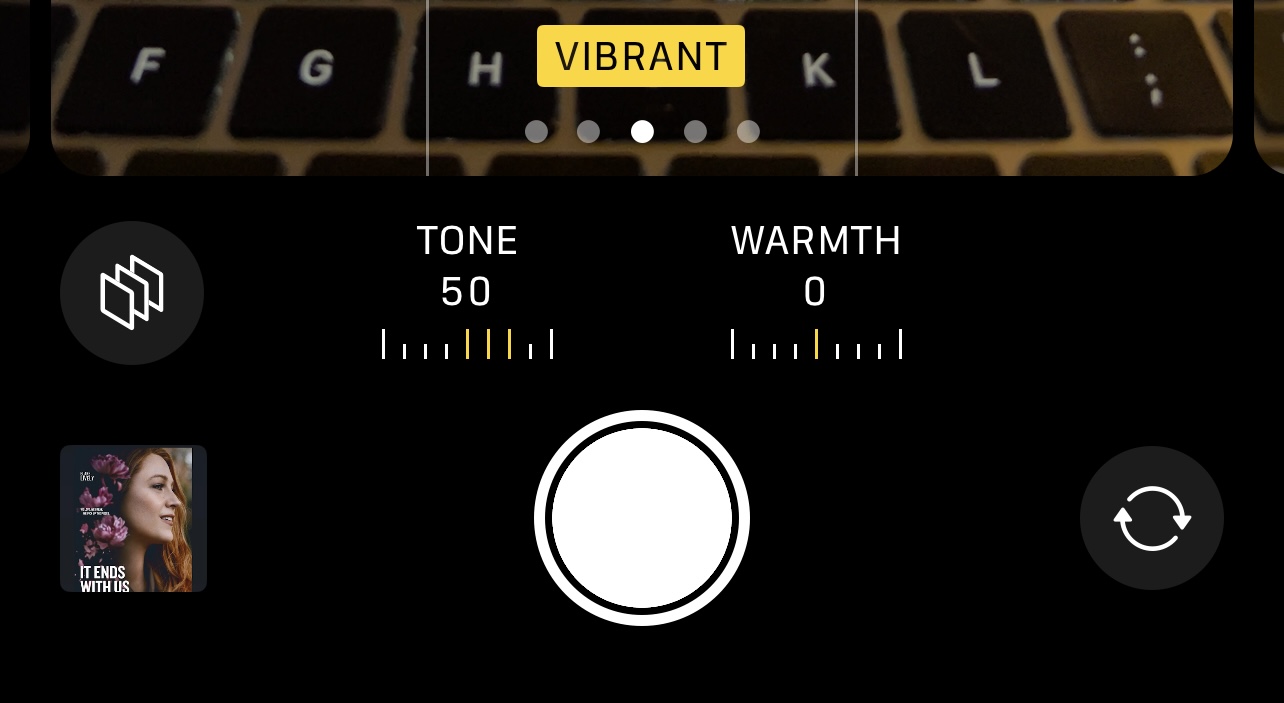
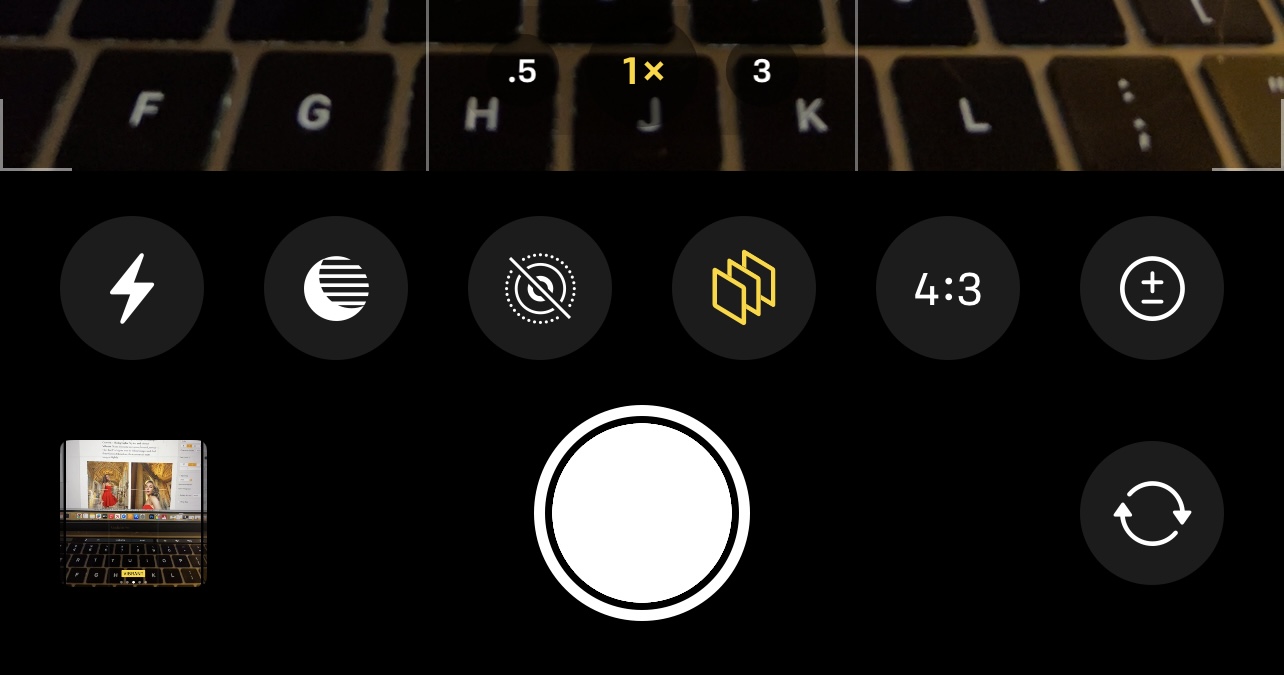
Vibrant setting photos at the Vatican Museum
Always Clean Your Lens
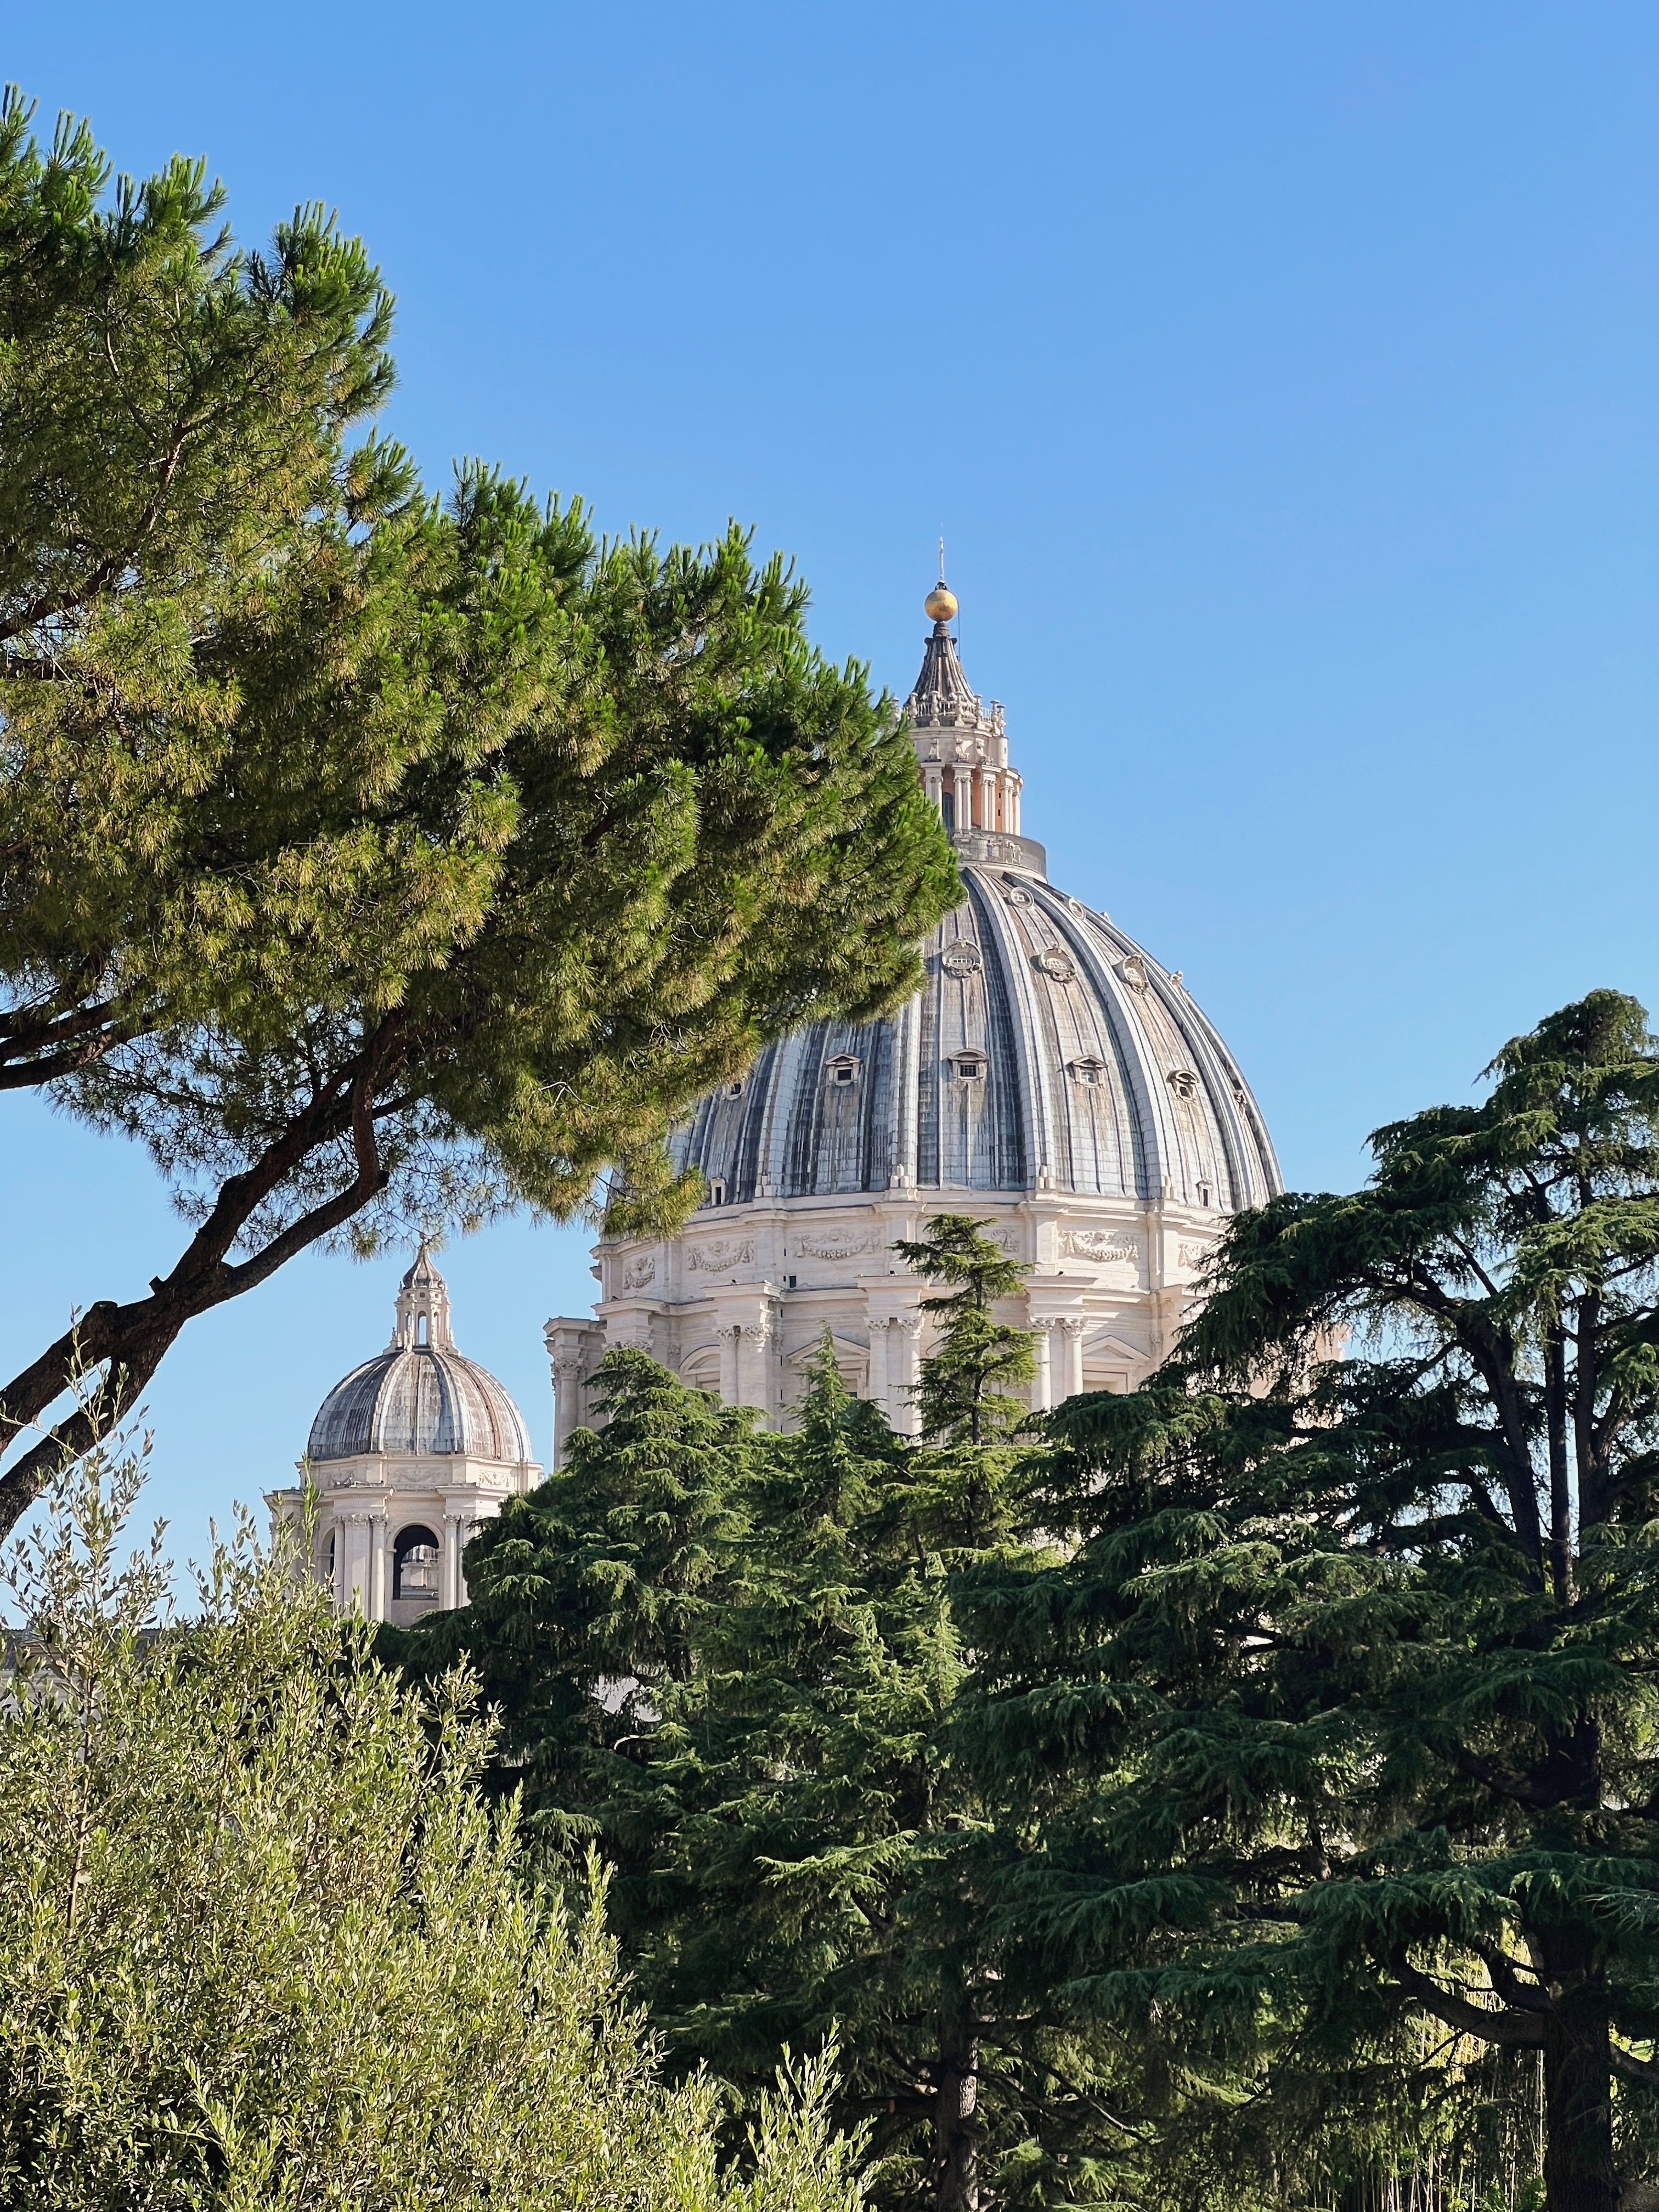
It may sound simple, but keeping your lens clean is crucial for capturing clear, sharp photos. A dirty lens can cause your photos to appear blurry or hazy. Make it a habit to wipe your lens with a microfibre cloth before taking any photos. If you're like me, you might find yourself wiping it off on whatever's handy—like my husband's shirt!
Composition and the Rule of Thirds
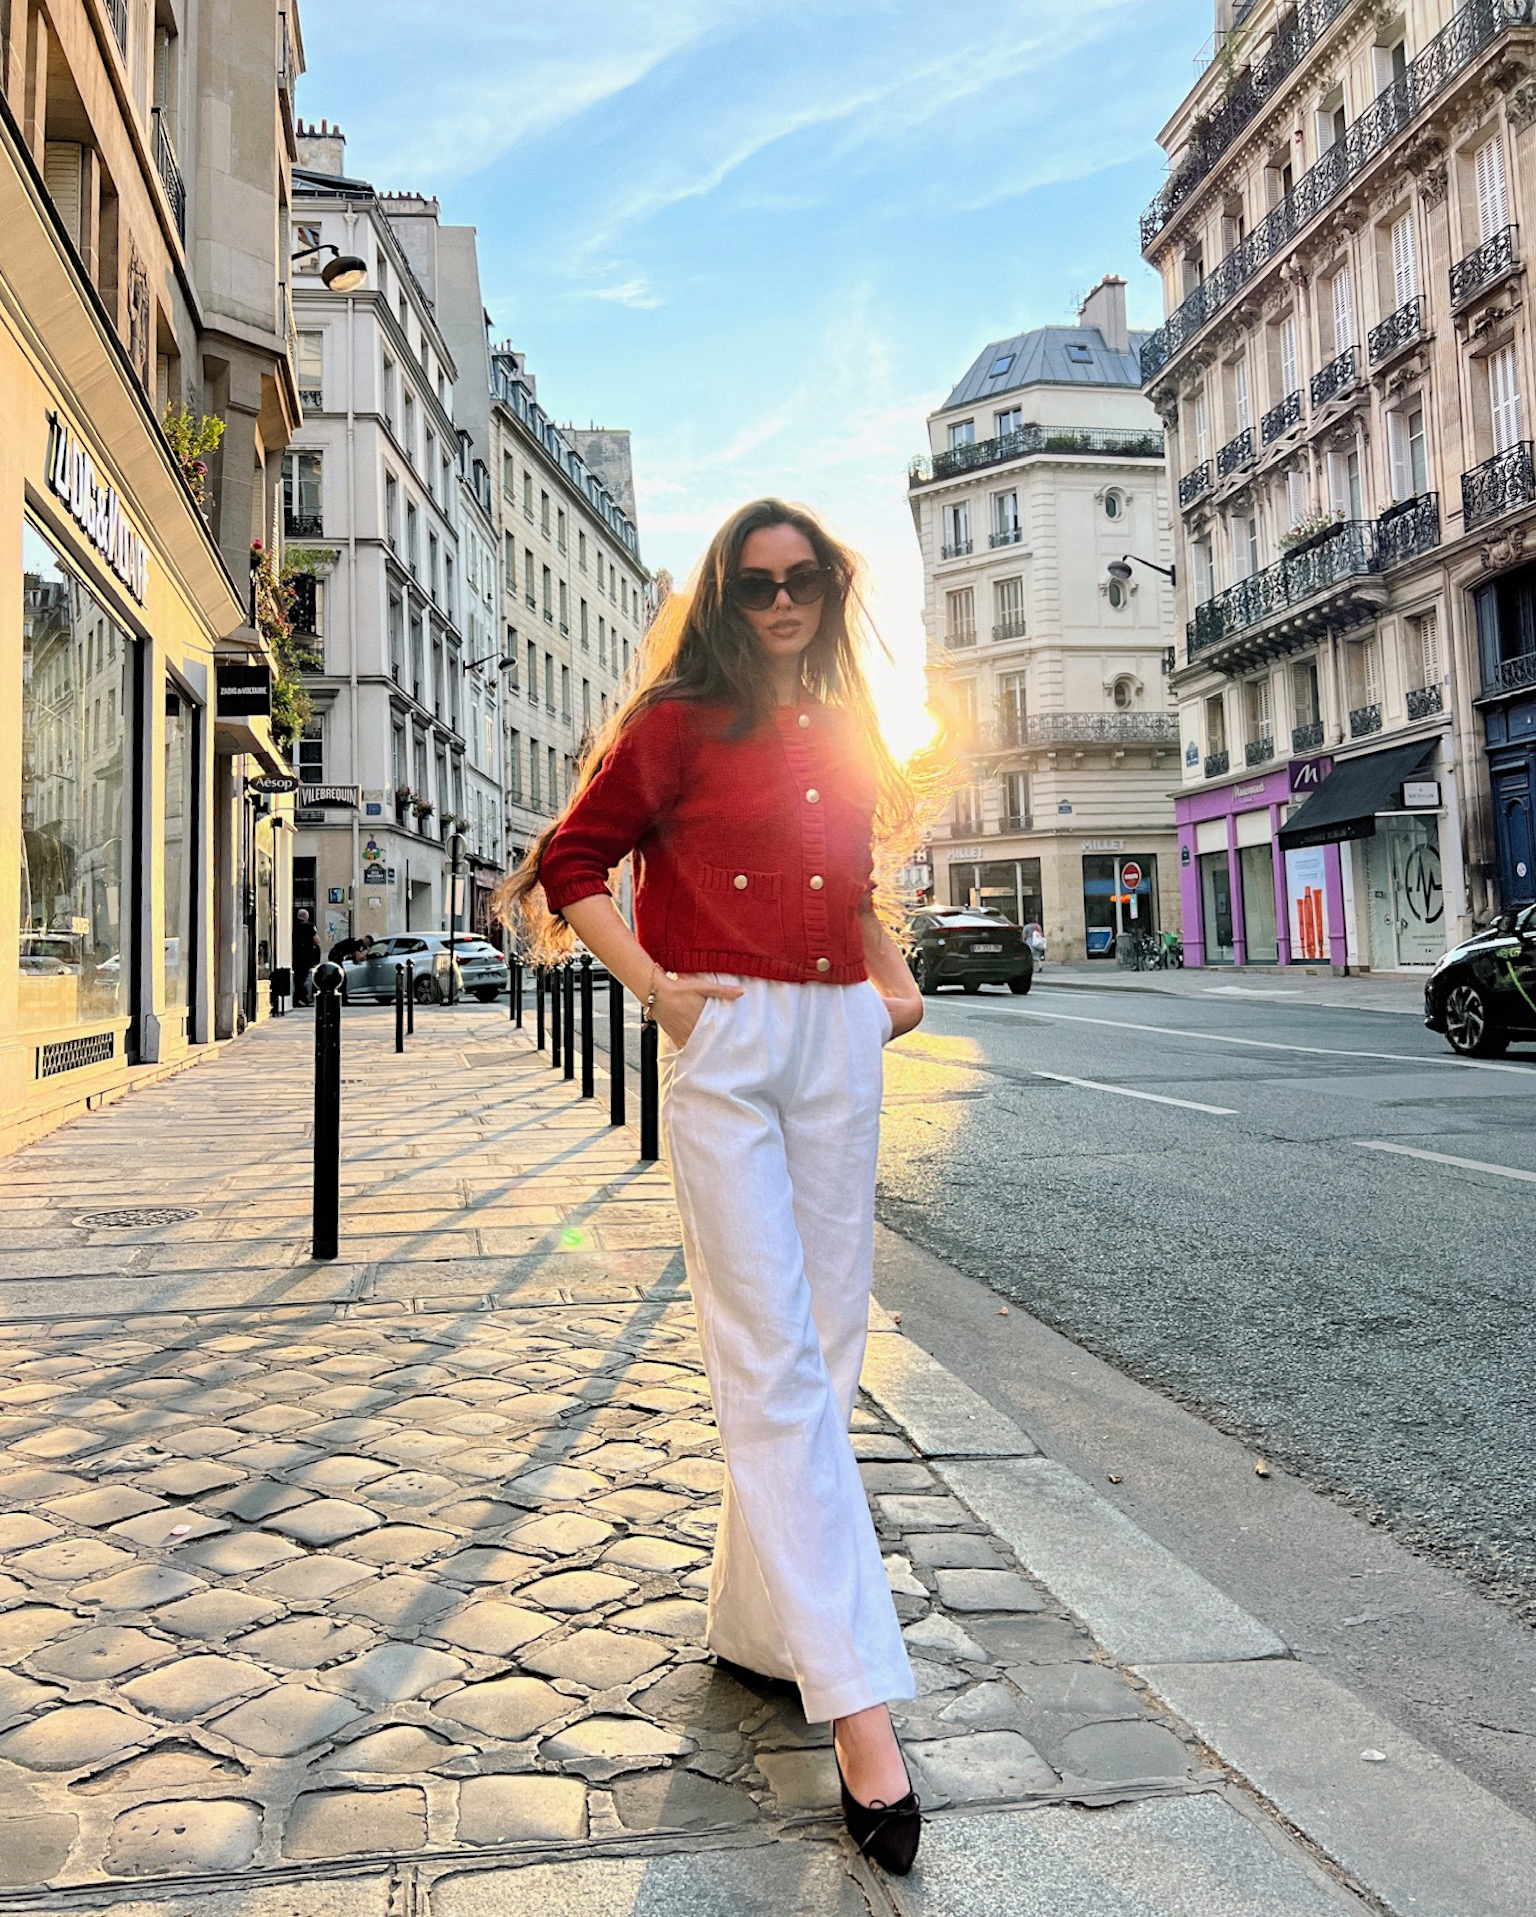
The rule of thirds is a classic photography principle that helps you create balanced and visually appealing images. Enable the grid feature on your camera by going to Settings > Camera and toggling on Grid. Place your subject along the lines or at the intersections for a more compelling composition. This simple adjustment can make a big difference in the overall impact of your photos.
Advertisement
Turn Off HDR Mode
I prefer to keep HDR (High Dynamic Range) mode turned off on my iPhone camera because I find it allows for more control over the exposure and overall look of my photos. HDR blends multiple exposures to balance highlights and shadows, but it can sometimes result in images that feel overly processed, losing the natural contrast and depth that I prefer.
Turning off HDR gives me greater flexibility during post-processing, allowing me to adjust exposure, contrast, and shadows to suit my personal style. Additionally, for scenes with movement, I avoid HDR to prevent ghosting effects, ensuring my images remain sharp and true to the moment.
Take Advantage of Night Mode
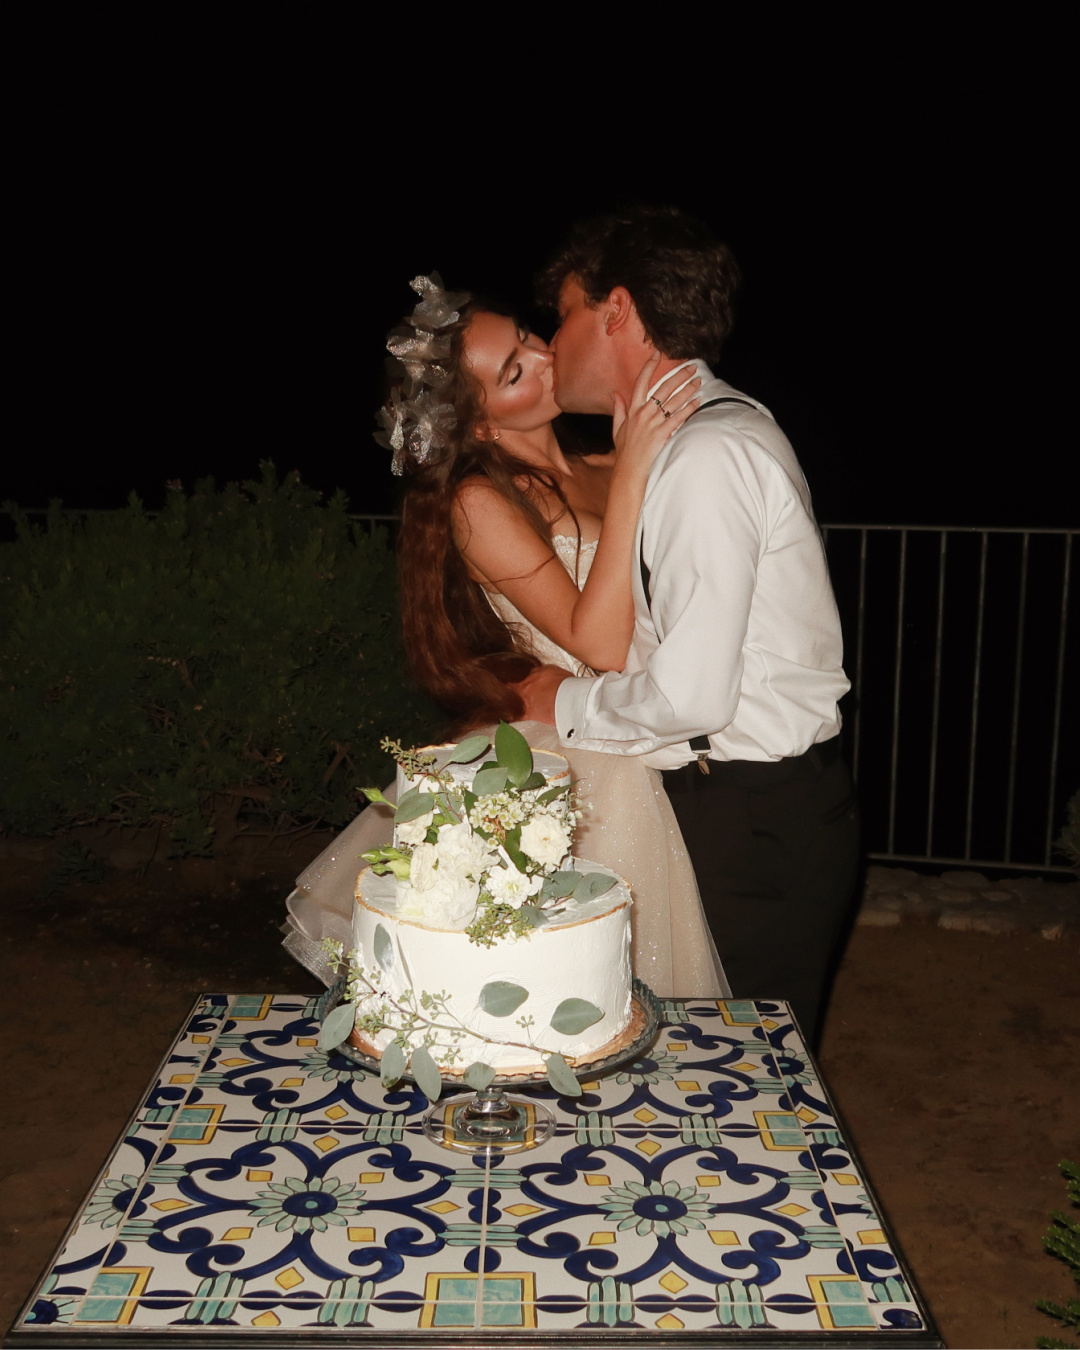
The iPhone 13 Pro Max & newer models excel in low-light conditions, thanks to its Night Mode. Night Mode automatically activates in low light, but you can also manually adjust the exposure time for even better results. Hold your phone steady or use a tripod to avoid motion blur, although a little blur can sometimes add to the mood.
For even better nighttime images, I'd recommend the Canon G7x with flash for very crisp photos that have a bit of a retro feel. This style of photo has been growing in popularity on social media, especially for vacation pictures.
Advertisement
When to Use Portrait Mode
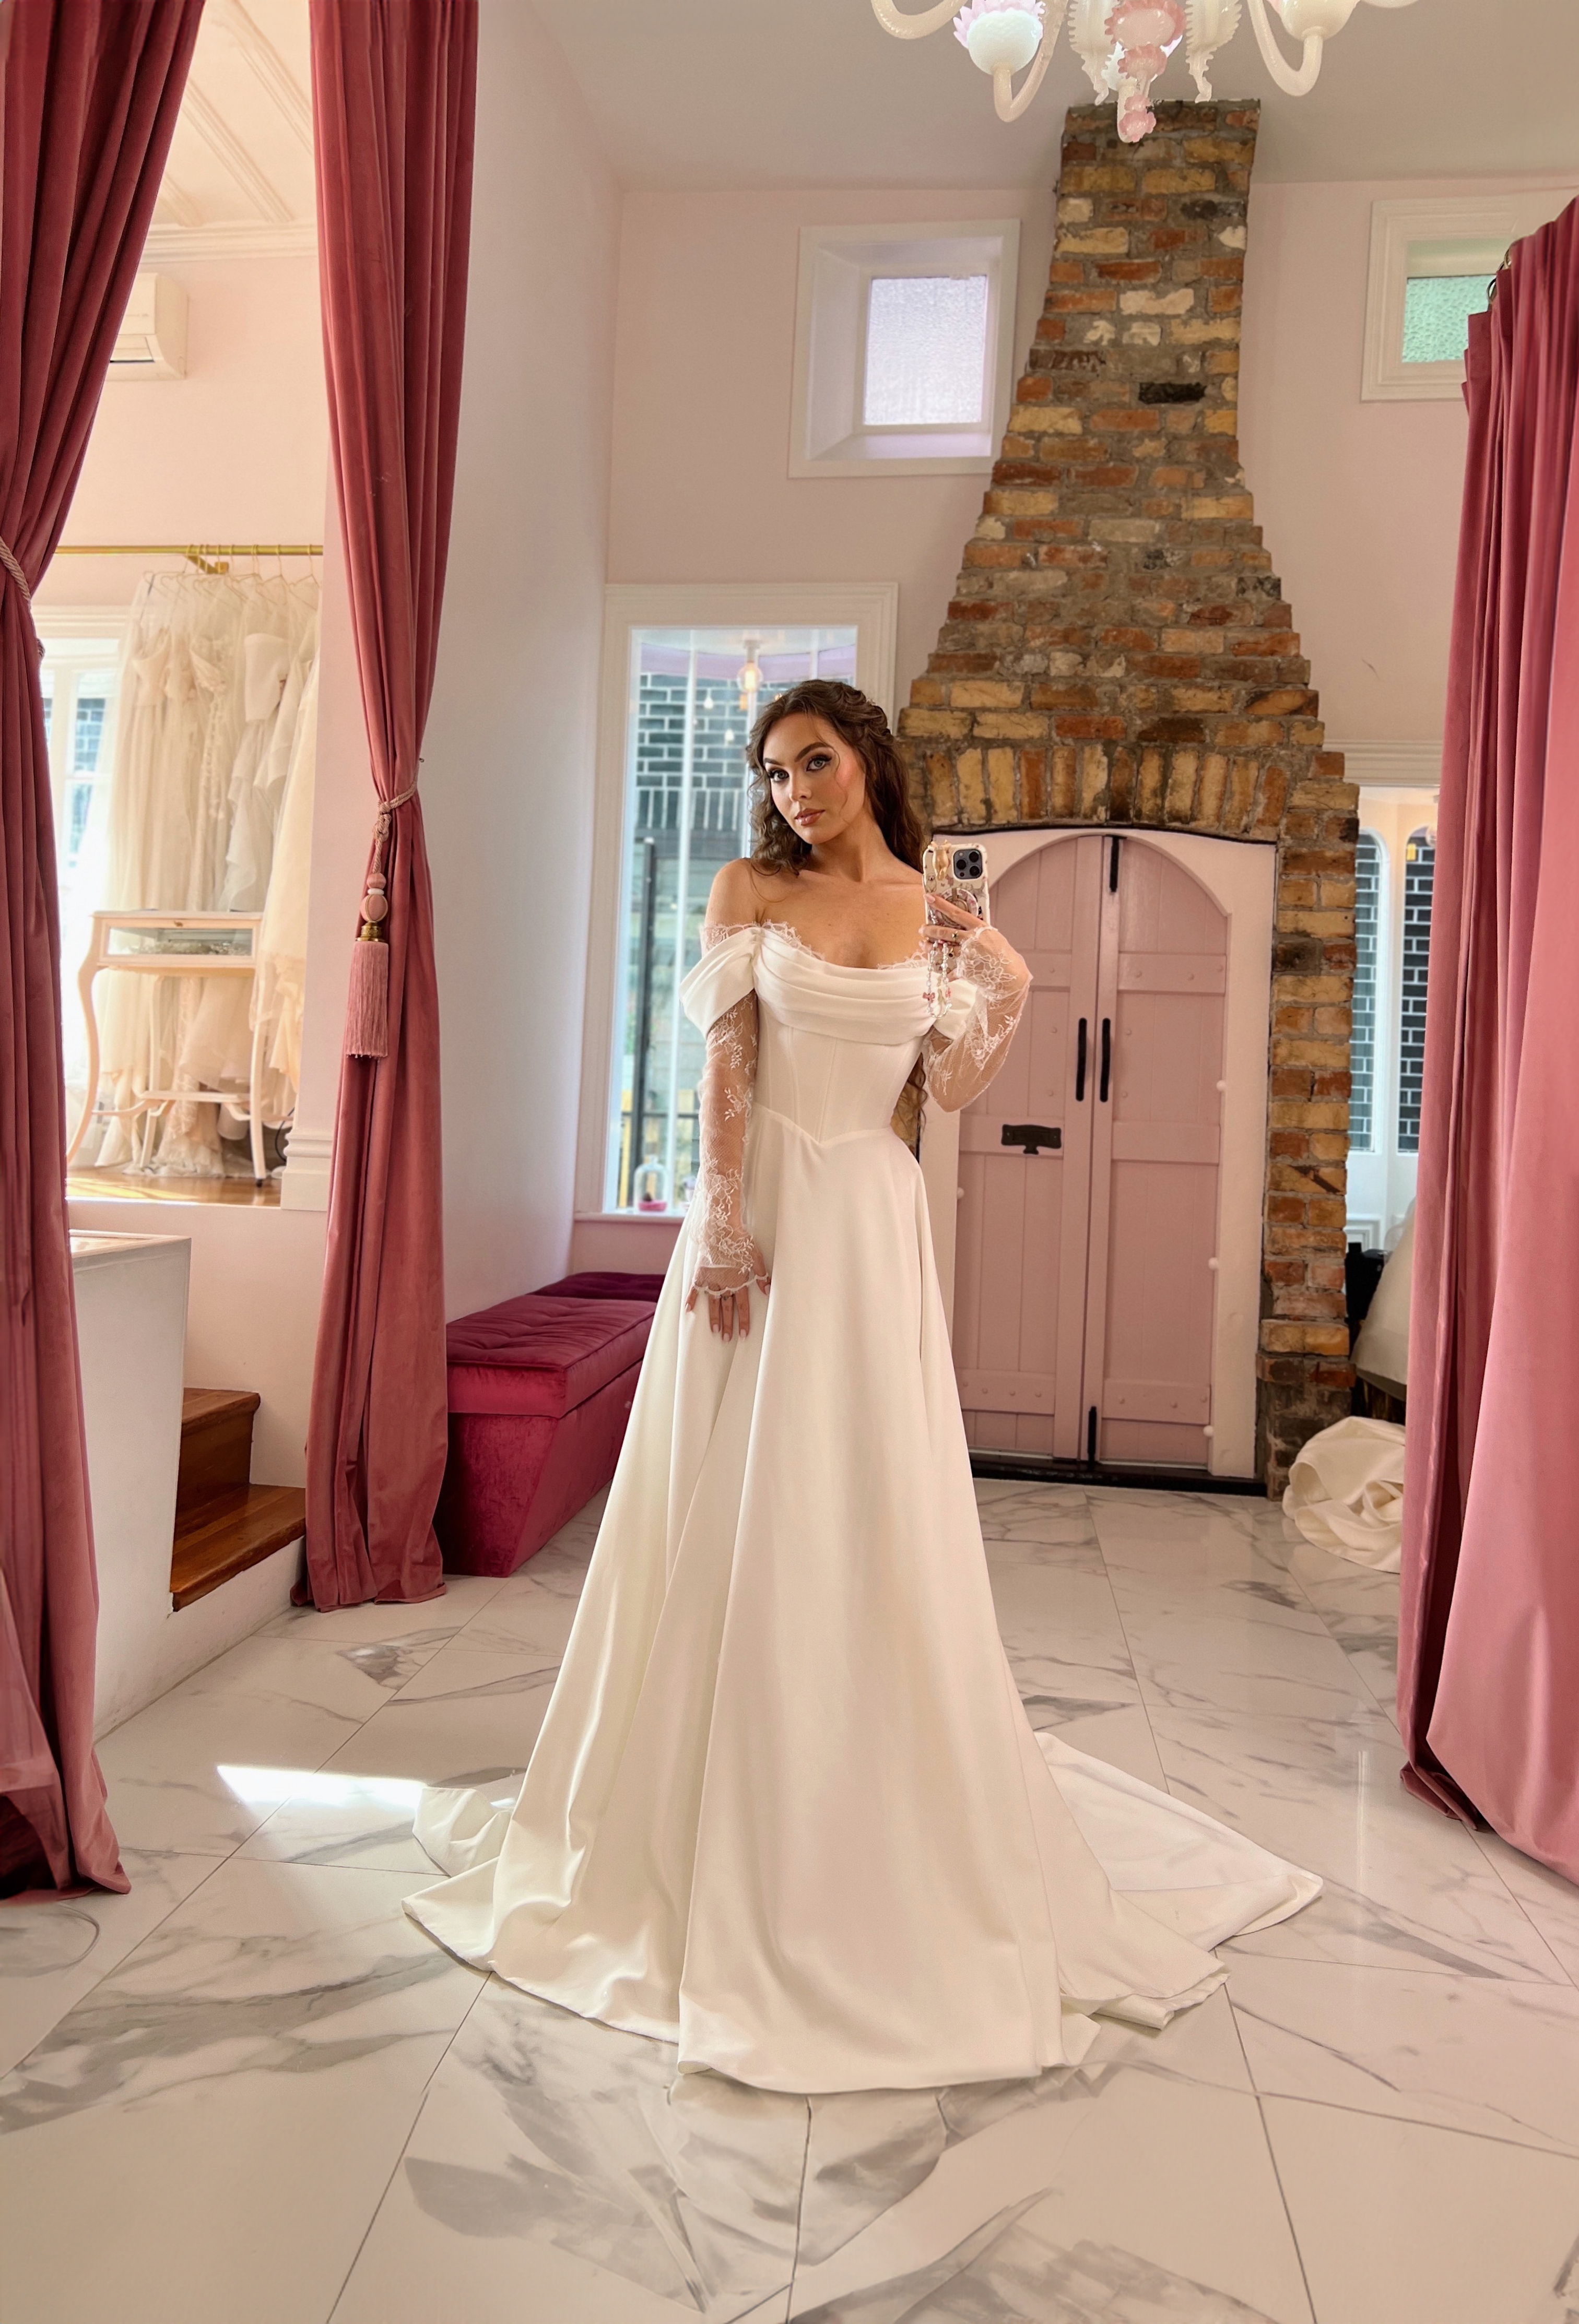
Portrait mode on the iPhone 13 Pro Max allows you to adjust the depth of field, creating a beautiful bokeh effect that blurs the background while keeping the subject in focus. I typically use this mode outside if there is a forest in the background or in mirror photos for quick selfies. I notice a big difference in clarity and a pull to the subject.
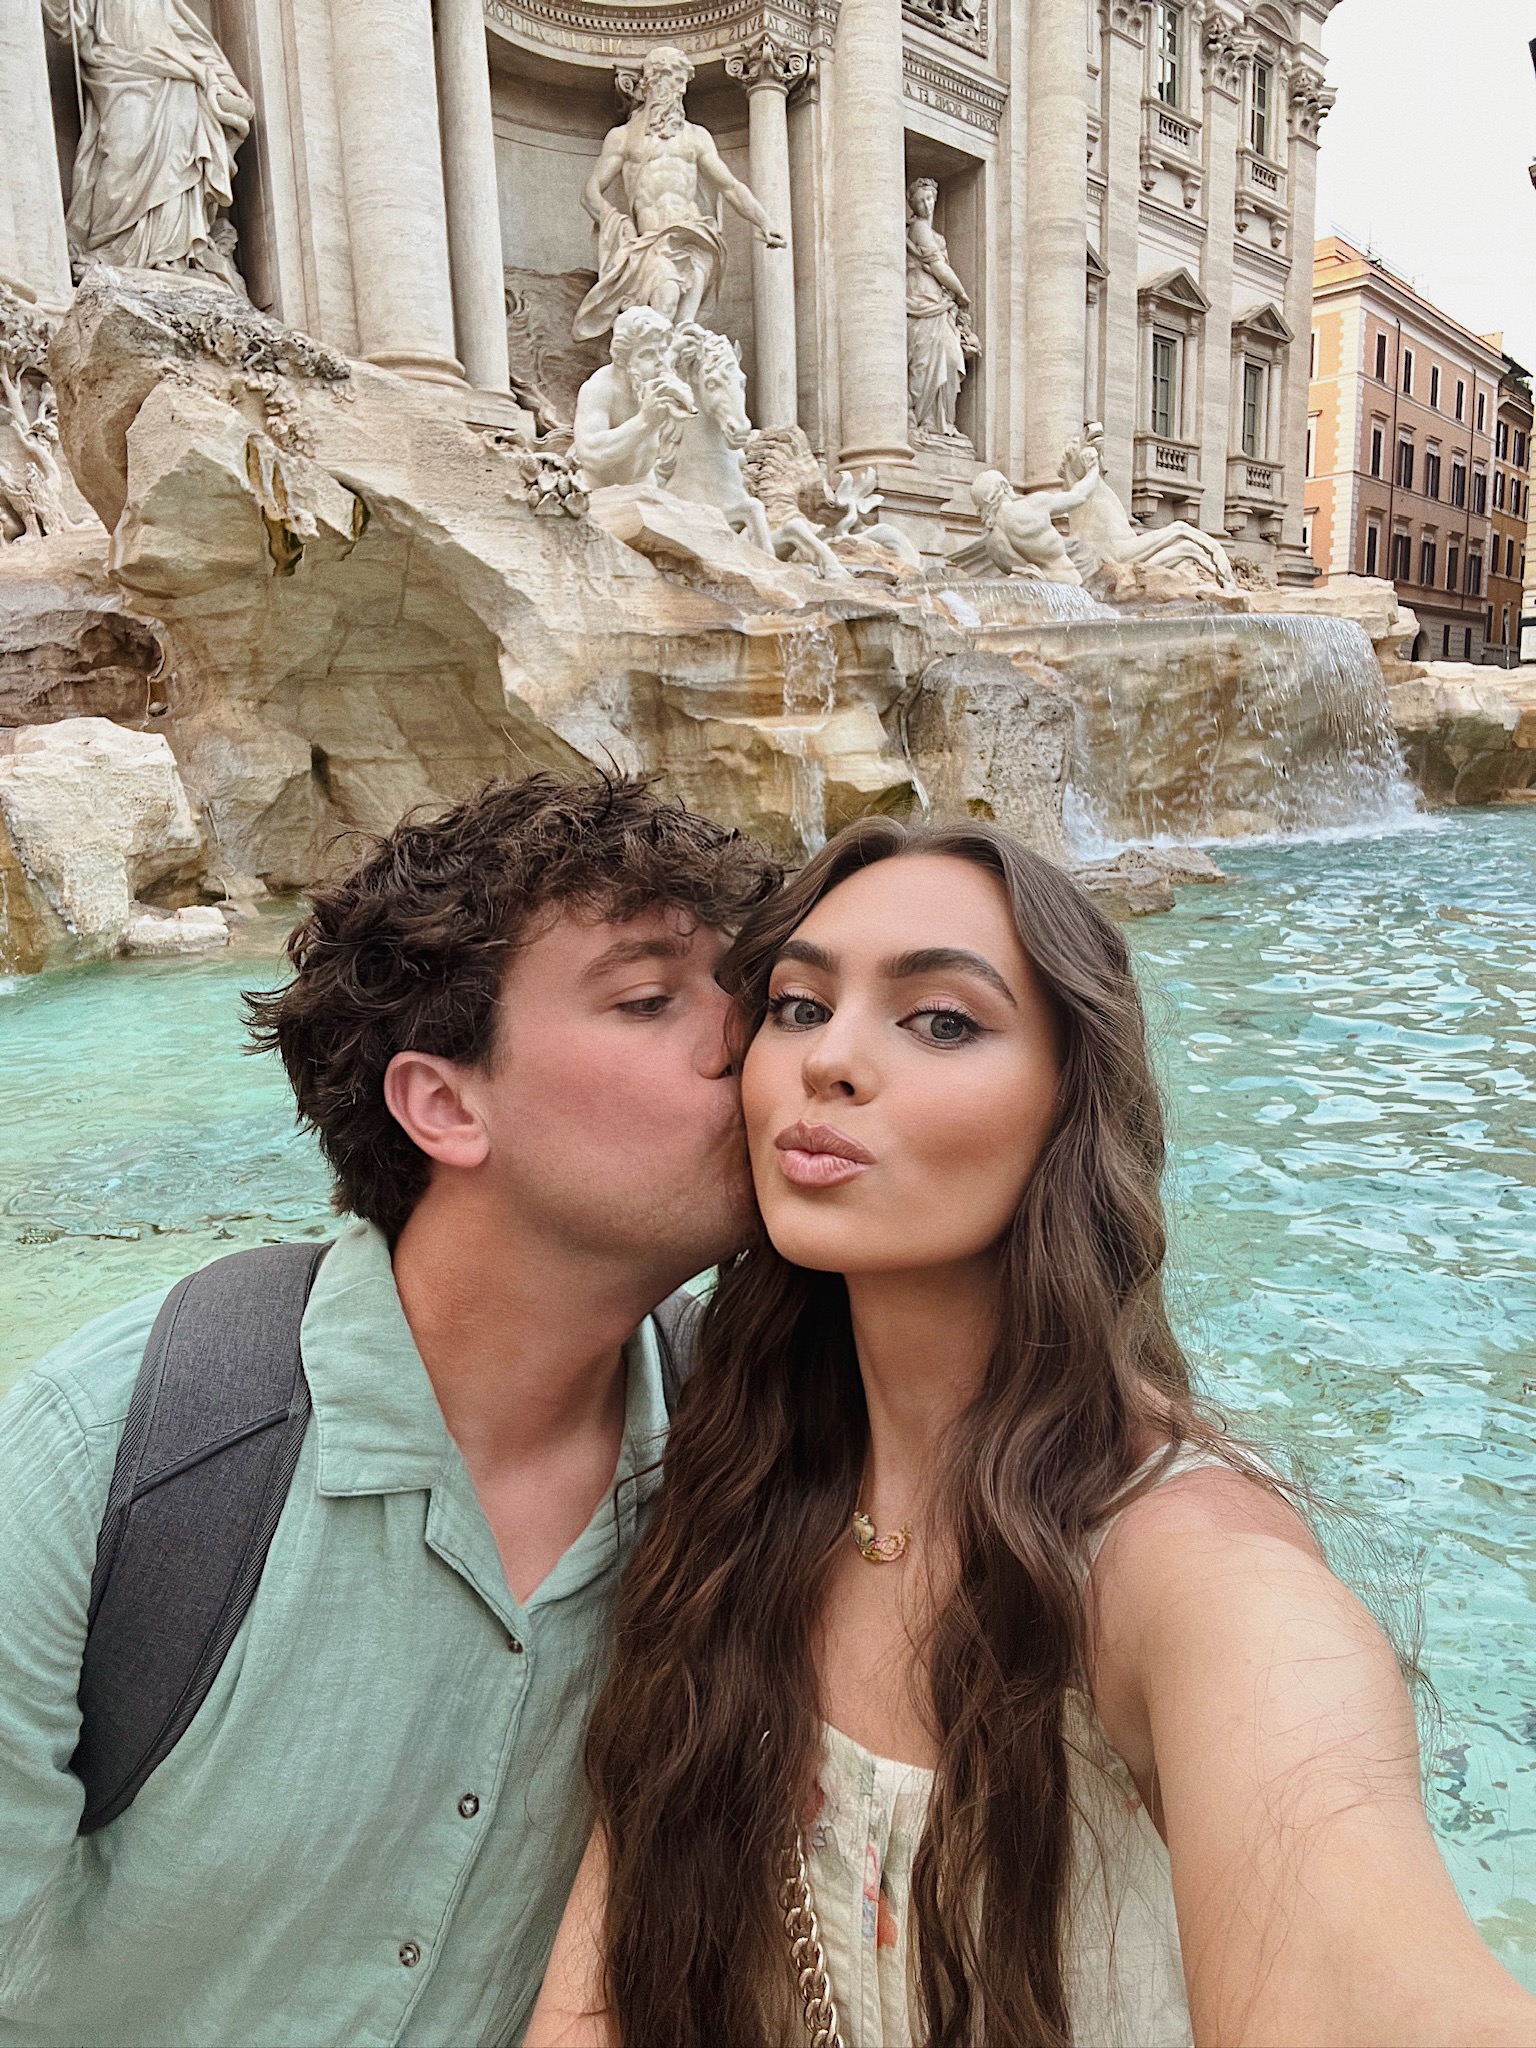
However, if I'm in a stunning location like the Trevi Fountain that has beautiful details, I prefer to capture all the sculptures! You can always blur the background in post-processing, but you can't bring back the lost details if you shoot in portrait mode.
Advertisement
Optimize Your Lighting
Natural light is your best friend when it comes to photography. Here are my top three lighting tips:
-
Bright Window Light: Stand by a big window on a bright day for a great headshot or selfie with friends.
-
Side Lighting: Position yourself so that light comes in from one side, casting gentle shadows for a more dynamic image.
-
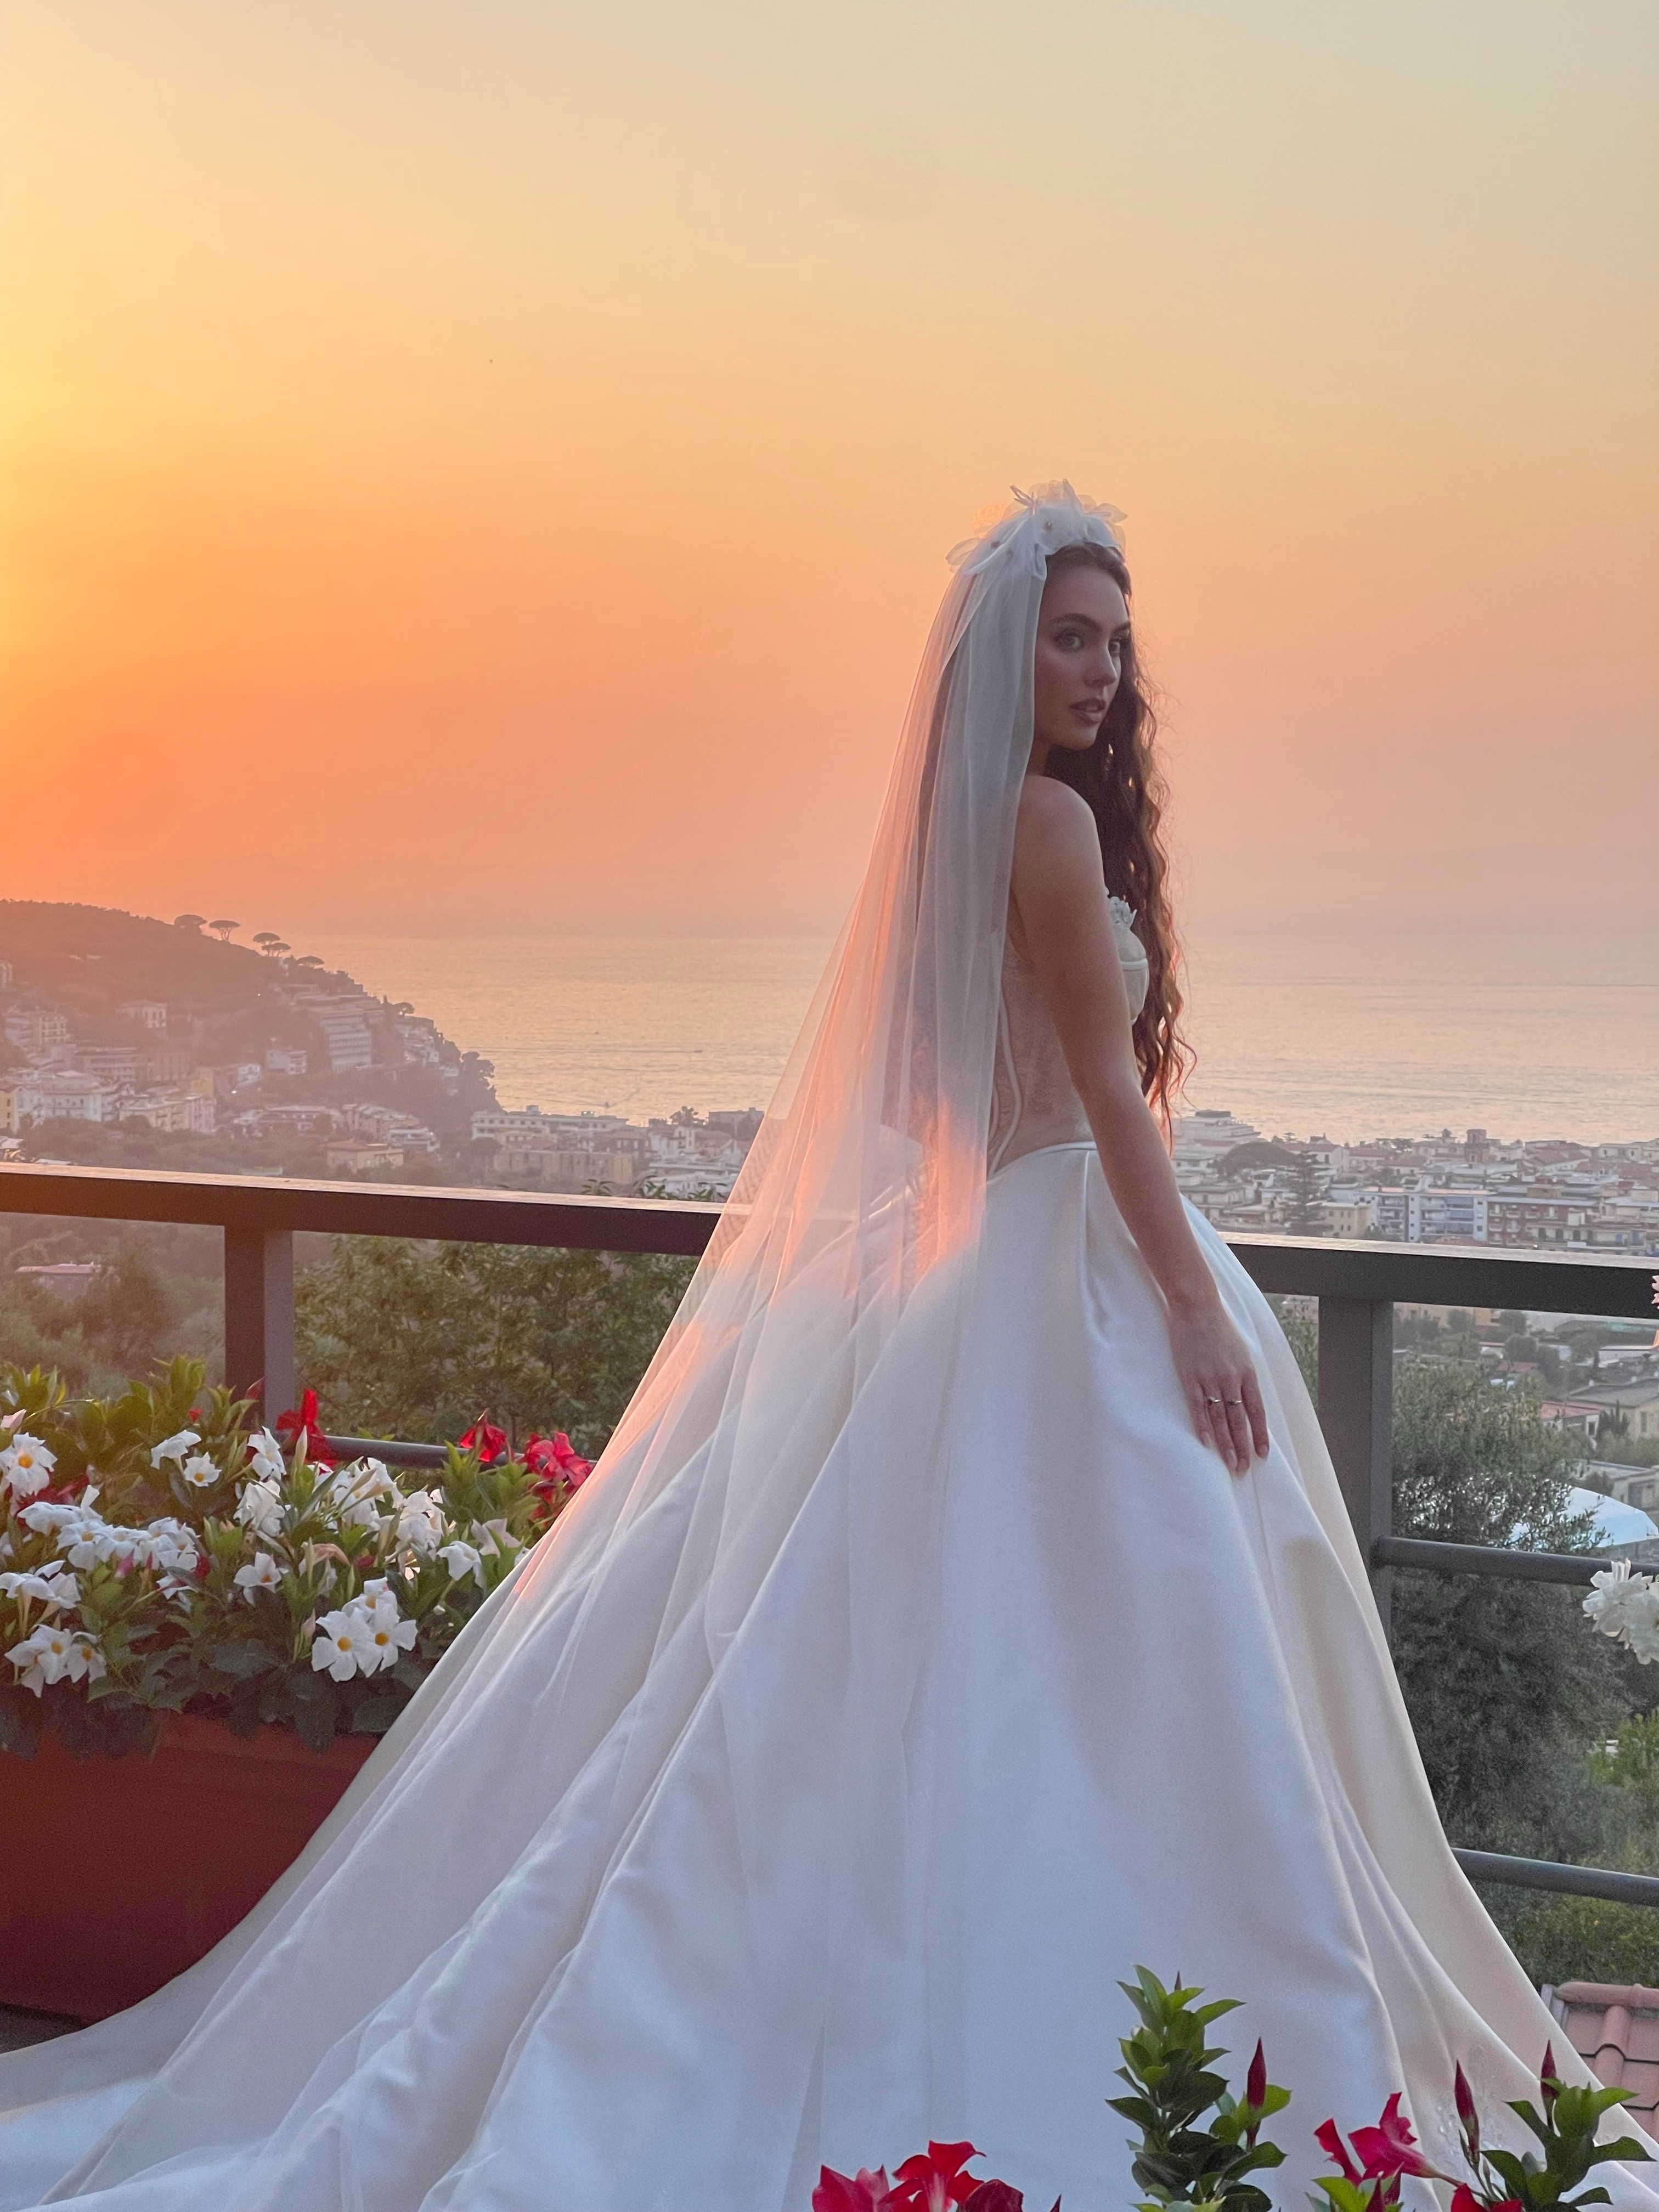
Golden Hour: Take advantage of the soft, warm light during golden hour.
Advertisement
Read Next
 OUR FAIRYTALE WEDDING →
Comments
Leave a Comment
The Newsletter
More tutorials, travel guides & beauty edits — straight to your inbox.
Share this story